Keep Track of Where Your Patients are in the Approval Process
Customize your own patient status categories to achieve your desired workflow
How It Works

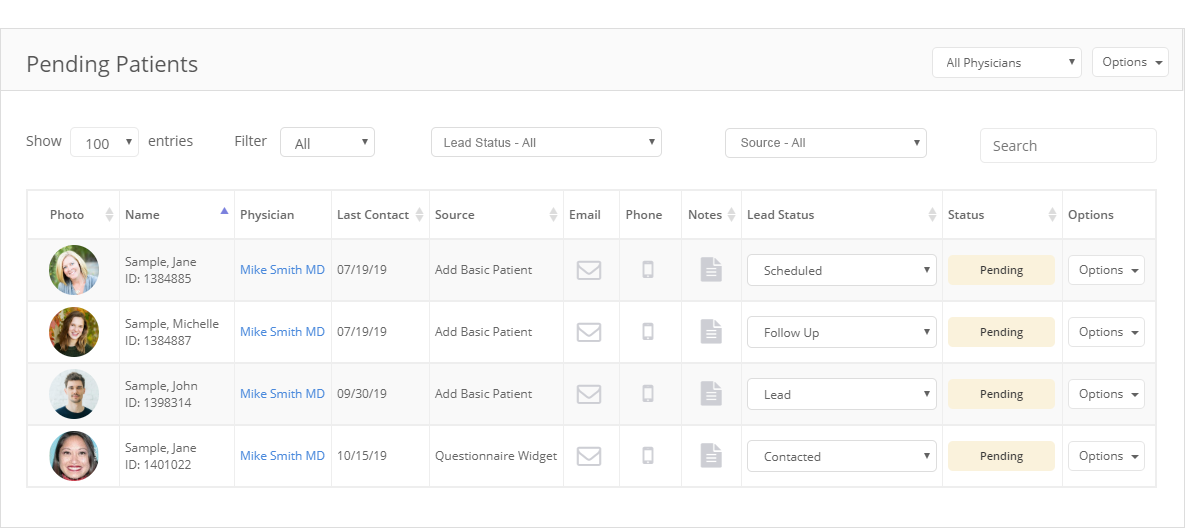
Patients Added in Verify MC and From Widgets Come in as a Pending Patient

Pending Patients Can Be Labeled With a Custom Status Label You Define

Filter Status of Pending Patients to View Different Stages of Approval Process

Contact Pending Patients by Email and SMS Text Plus Add Patient Status Notes
Interactive Screenshot of Patient CRM
Rollover any number on the screenshot below to learn more

1Filter patients by all
or a specific physician
or a specific physician
2Export CSV or PDF of all
patients or filtered patients
patients or filtered patients
3Filter how many entries to show
4Filter patients by day, week,
month or custom date range
month or custom date range
5Filter patients by their
custom lead status
(You can customize these)
custom lead status
(You can customize these)
6Filter patients by source
(How they were added)
(How they were added)
7Search patients
8Patient photo, info and ID number
(Click to manage patient)
(Click to manage patient)
9Shows current physician
or if no physician the clinic
(Click to edit)
or if no physician the clinic
(Click to edit)
10Shows last contact date
(Click to edit date)
(Click to edit date)
11Shows patient source
(How they were added)
(How they were added)
12Click icons to access patient
email and phone number
email and phone number
13Click icon to add patient notes
14View patient lead status
(Click to edit lead status)
(Click to edit lead status)
15Shows the patient status
Click to edit patient pending
(E.g. to approve patient)
Click to edit patient pending
(E.g. to approve patient)
16Menu to contact patient,
add appointment,
add invoice and more
add appointment,
add invoice and more

